

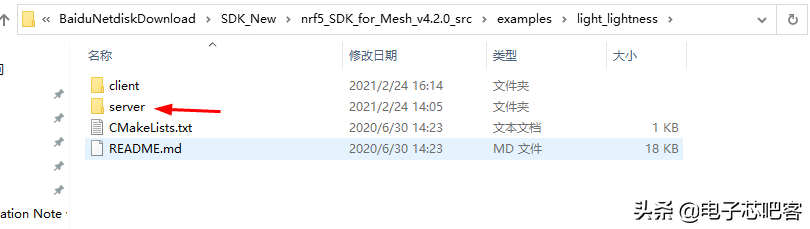
由于Nordic提供的工程是在SES下建立的,所以我预先在电脑中安装好了SES,这里不多赘述。下载这两个文件之后,我在电脑中新建了一个文件夹,把这两个文件放到了同一目录下,接着打开了SDK for 的example文件夹,这里面存放着许多例程,这里我基于light-lightness例程来修改,以达到最终目的。

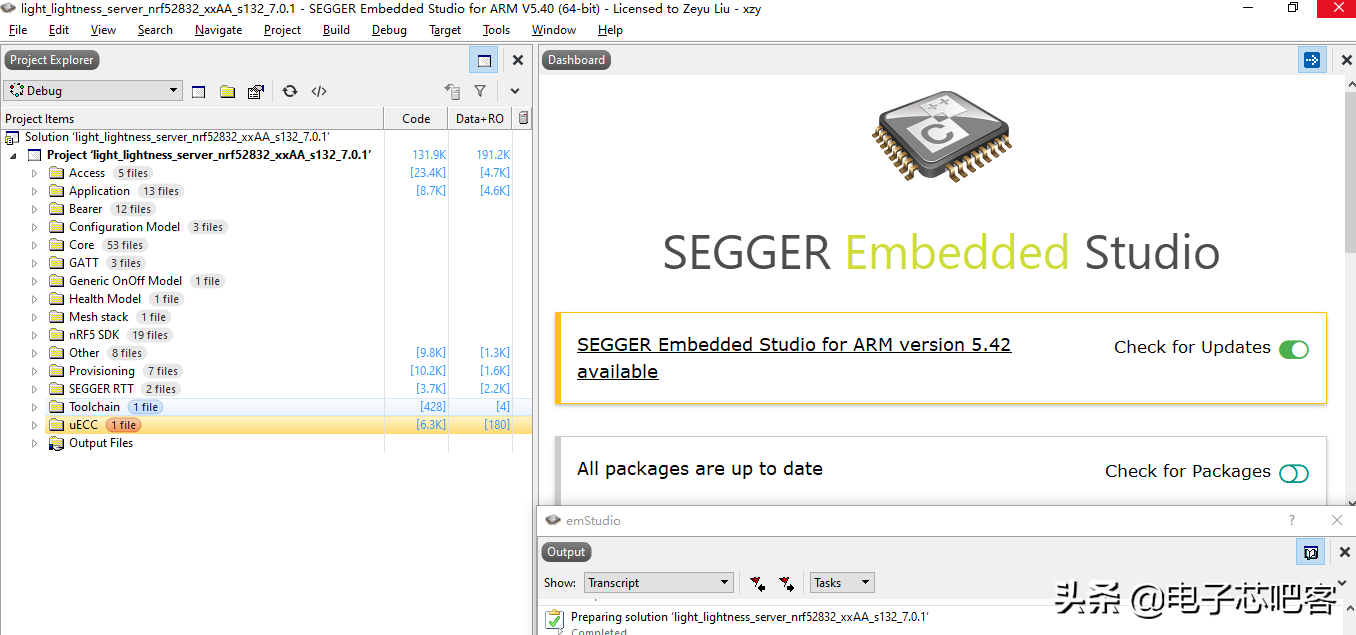
light-lightness例程实际上就是控制led亮度的一个例程,使用的pwm来控制led亮度,这其实和我的空气净化器需要的一路电机转速控制很是类似,故我在这个例程上修改,添加其他模型。点开light-lightness文件夹之后,发现里面还有两个文件夹,一个是server一个是client,我们使用server来修改,点开之后打开NRF52832的SES工程,如下
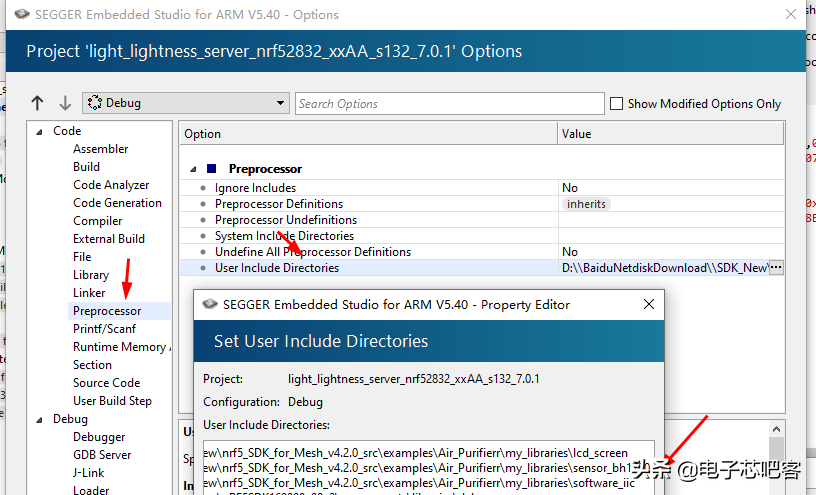
观察左侧的工程树,我们可以发现其实和BLE的工程还是有比较多的类似之处,各个层级分层目录很是明显,首先我编译一下工程,发现没有错误没有警告。接着就可以开始修改例程了,首先我把OLED屏幕以及光线传感器的代码移植过来,在工程中新建一个文件夹放入代码,并且添加对应的头文件路径。

接着修改一下pwm的对应引脚,由于在mesh工程中,pwm使用的是软件pwm库,所以pwm的引脚可以任意定义。这里对应我的电路板,修改为第五脚

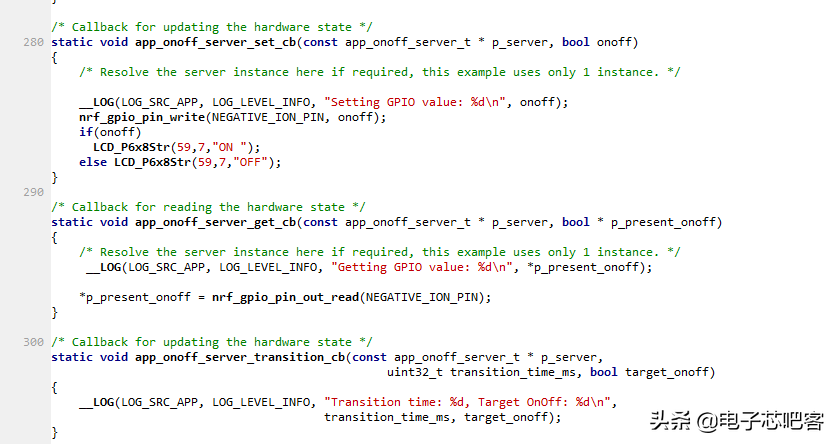
熟悉Nordic的SDK的同学应该都知道,大部分事情都是在回调函数中处理的,对于light-lightness模型,当模型的状态更新的时候,会调用set_lightness_cb这个回调函数,于是我在回调函数中添加了一个转速的显示函数,用来在改变转速的时相应的显示。

编译工程,然后接上jlink,点击target工具栏下面的连接之后,依次执行擦除和下载指令,程序以及协议栈就会被下载到芯片当中了。下载完成后控制台显示如下

接着给电路板接上电源,手机上安装NRF mesh软件之后,就可以搜索到我的电路板的信号了,此时显示屏也有了显示数据。

此时的电路板处在未配网状态,需要使用手机先对其进行配置,按照手机上的提示依次操作即可,配置好之后点开element目录,发现其中有很多模型,点击generic level server模型,绑定app key之后,就可以使用最下方的滑动条来控制电机转速了。


下面我需要添加的是控制负离子发生器功能,其需要的控制量是开关量,所以我选择添加一个最基本的模型:generic on-off。在工程中新建一个文件夹, 添加generic on-off模型的相关文件,添加好之后如下所示

由于新加入了模型,我们就需要修改一下配置头文件,在工程树中找到nrf_mesh_config_app.h文件,修改其中的ACCESS_MODEL_COUNT(模型总数)以及ACCESS_ELEMENT_COUNT(元素总数)以及
ACCESS_SUBSCRIPTION_LIST_COUNT(订阅列表)

修改好之后就可以在main.c文件中添加generic on-off模型的相关初始化以及回调函数了

由于需要传输pm2.5传感器的数据,我还需要添加sensor模型,和以上添加generic on-off模型类似,添加sensor模型相关文件以及相关初始化以及回调函数,由于sensor模型的回调函数有很多,我用到的只有一个,所有我只贴上用到的那个回调函数的代码,其余函数都参考sensor例程编写,并无改动。


由于pm2.5传感器使用串口发送数据,还需要添加串口的相关代码,并且在app_config.h函数中声明相关外设的宏


接着在main.c文件的initialize函数中添加创建软件定时器相关代码,在其回调函数中周期性更新显示数据以及发布数据


编译工程并且下载到电路板上,可以看到pm2.5数据显示正常,重新对电路板进行配网之后,可以看到其中有了3个元素,新添加的generic on-off模型以及sensor模型都可以正常显示。点击generic on-off模型,绑定app-key之后,即可控制负离子发生器的开启和关闭。

为了测试mesh通信是否正常,我制作了一个小的测试板,将其烧录light-lightness的client工程以及配置之后,我们需要配置一下两者的订阅以及发布地址。给电路板的light-lightness模型下添加一个订阅组地址,以及给测试板的light-lightness模型下添加一个发布组地址,注意两者地址需要相同,接着就可以使用测试板的按键来控制空气净化器的电机转速。
