由于我电脑win7上的DNW-USB驱动一直装不上,所以选择在ubuntu下完成dnw的操作实现与uImage的引导。
先给开发板的uboot添加dnw功能
具体文件可以git这里
https://github.com/plinx/uboot_dnw
1、将cmd_usbd.c拷贝到common目录下
2、添加规则到/common/Makefile
# core command
...
COBJS-y += cmd_usbd.o
3、将usbd-otg-hs.h,usbd-otg-hs.c拷贝到u-boot/cpu/arm1176/s3c64xx/
4、将regs.h,s3c64x0.h 拷贝到u-boot/include/
5、修改include/configs/smdk6410.h文件,加入下面两句
#define CONFIG_S3C_USBD
#define USBD_DOWN_ADDR 0xc0000000
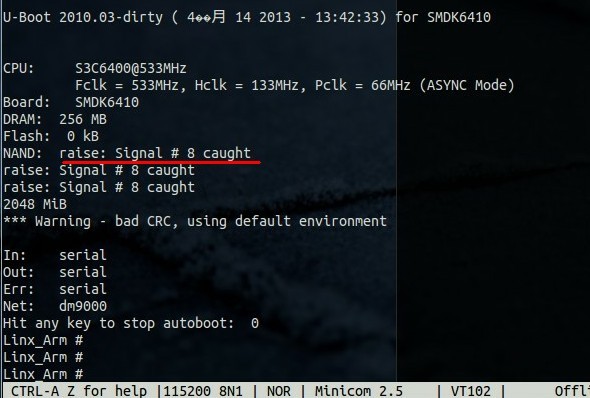
成功导入后,如下图

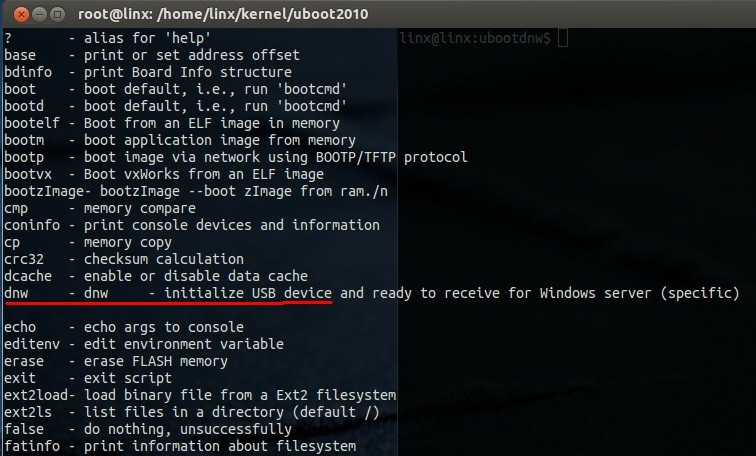
出现了新的问题,先不管,help看一下

dnw功能已经加入了。
现在反过来解决Signal # 8 caught问题:
修改/cpu/arm1176/s3c64xx/timer.c文件如下内容:
ulong get_timer_masked(void)
{
unsigned long long res = get_ticks();
// do_div (res, (timer_load_val / (100 * CONFIG_SYS_HZ)));
return res;
}
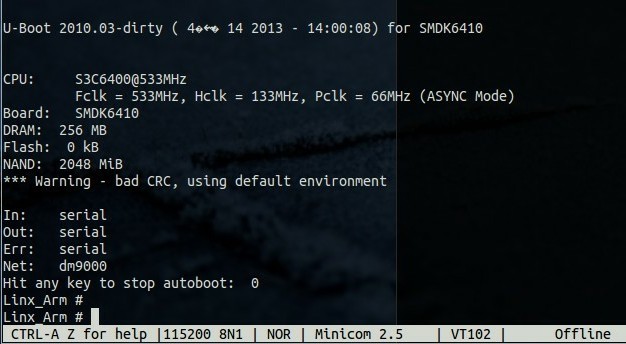
重新烧写后如图:

下一篇讲Dnw for linux(ubuntu)。


