


 技术咨询
技术咨询 代买器件
代买器件 商务客服
商务客服 研发客服
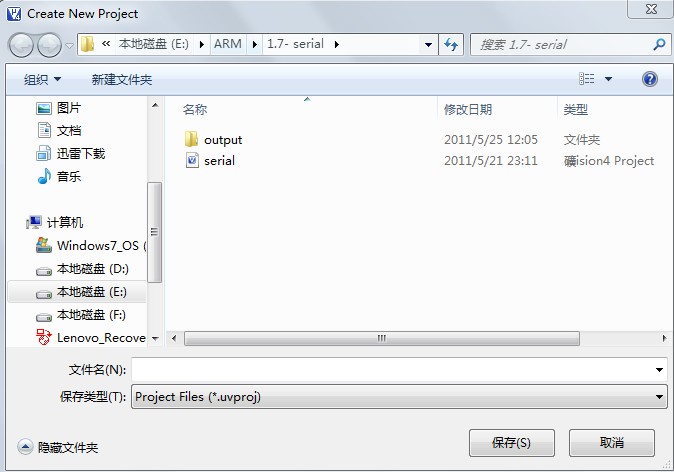
研发客服新建一个工程
单击Project ->New µVision Project...菜单项
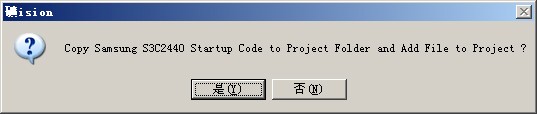
选择CPU
这里我们选择三星的2440A 点击OK后会提示你是否添加CPU启动代码这里点否。就可以了。

添加文件
这里我们以FL关盘自带的LED实验代码为例;直接把飞凌的led文件下的实验代码
复制到刚才建立工程的那个文件夹下就可以了。接着在keil下点击file-open,打开刚才的那两个文件。
编译设置
1.首先是target选项卡

2.接着是User
"D:Program FilesKeilARMBIN40fromelf.exe" --bin -o @p.bin @p.axf

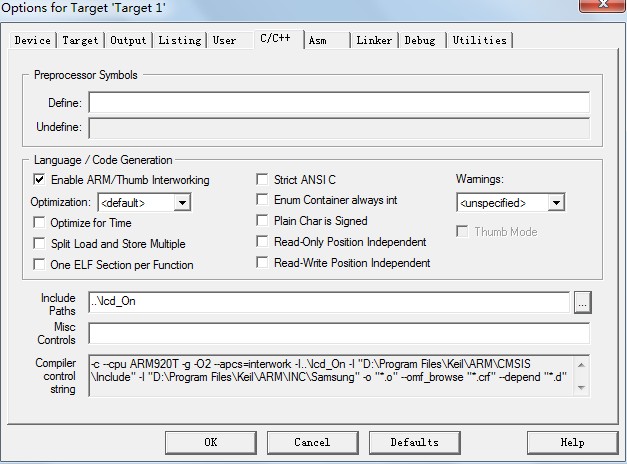
3. 下面选择C/C++和Asm(选择头文件)
4.debuge

右侧的Initialization File为config文件夹下的 Ext_RAM.ini
5.Utilities
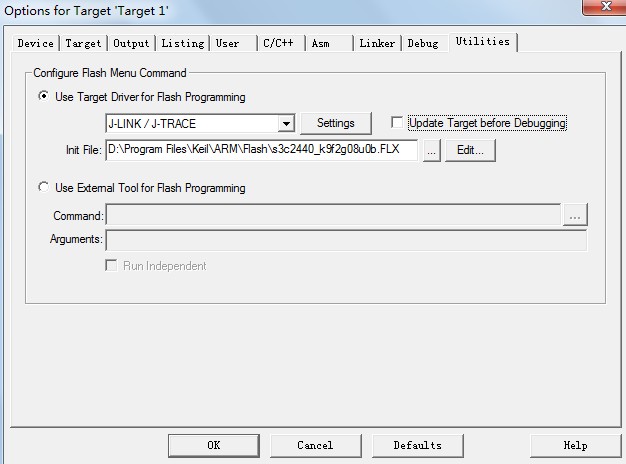
设置完就可以了
编译调试
就下来点调试会出现一些错误
1
No section matches selector - no section to be FIRST/LAST.
这是因为默认的sct文件里 *.o (RESET, +First)
要求以RESET段作为程序入口点,你可以修改sct文件,也可以把代码的入口段名改为RESET
如AREA RESET,CODE,.....
2
Error: L6238E: foo.o(.text) contains invalid call from '~PRES8' function to'REQ8' function Warning: L6306W: '~PRES8' section foo.o(.text) should not use the address of 'REQ8' function foobar
办法:在每个汇编文件的开头,添加“PRESERVE8”指令
相关文章


